Introduction to DIY Manicures
[Source: asksarah.com.au]
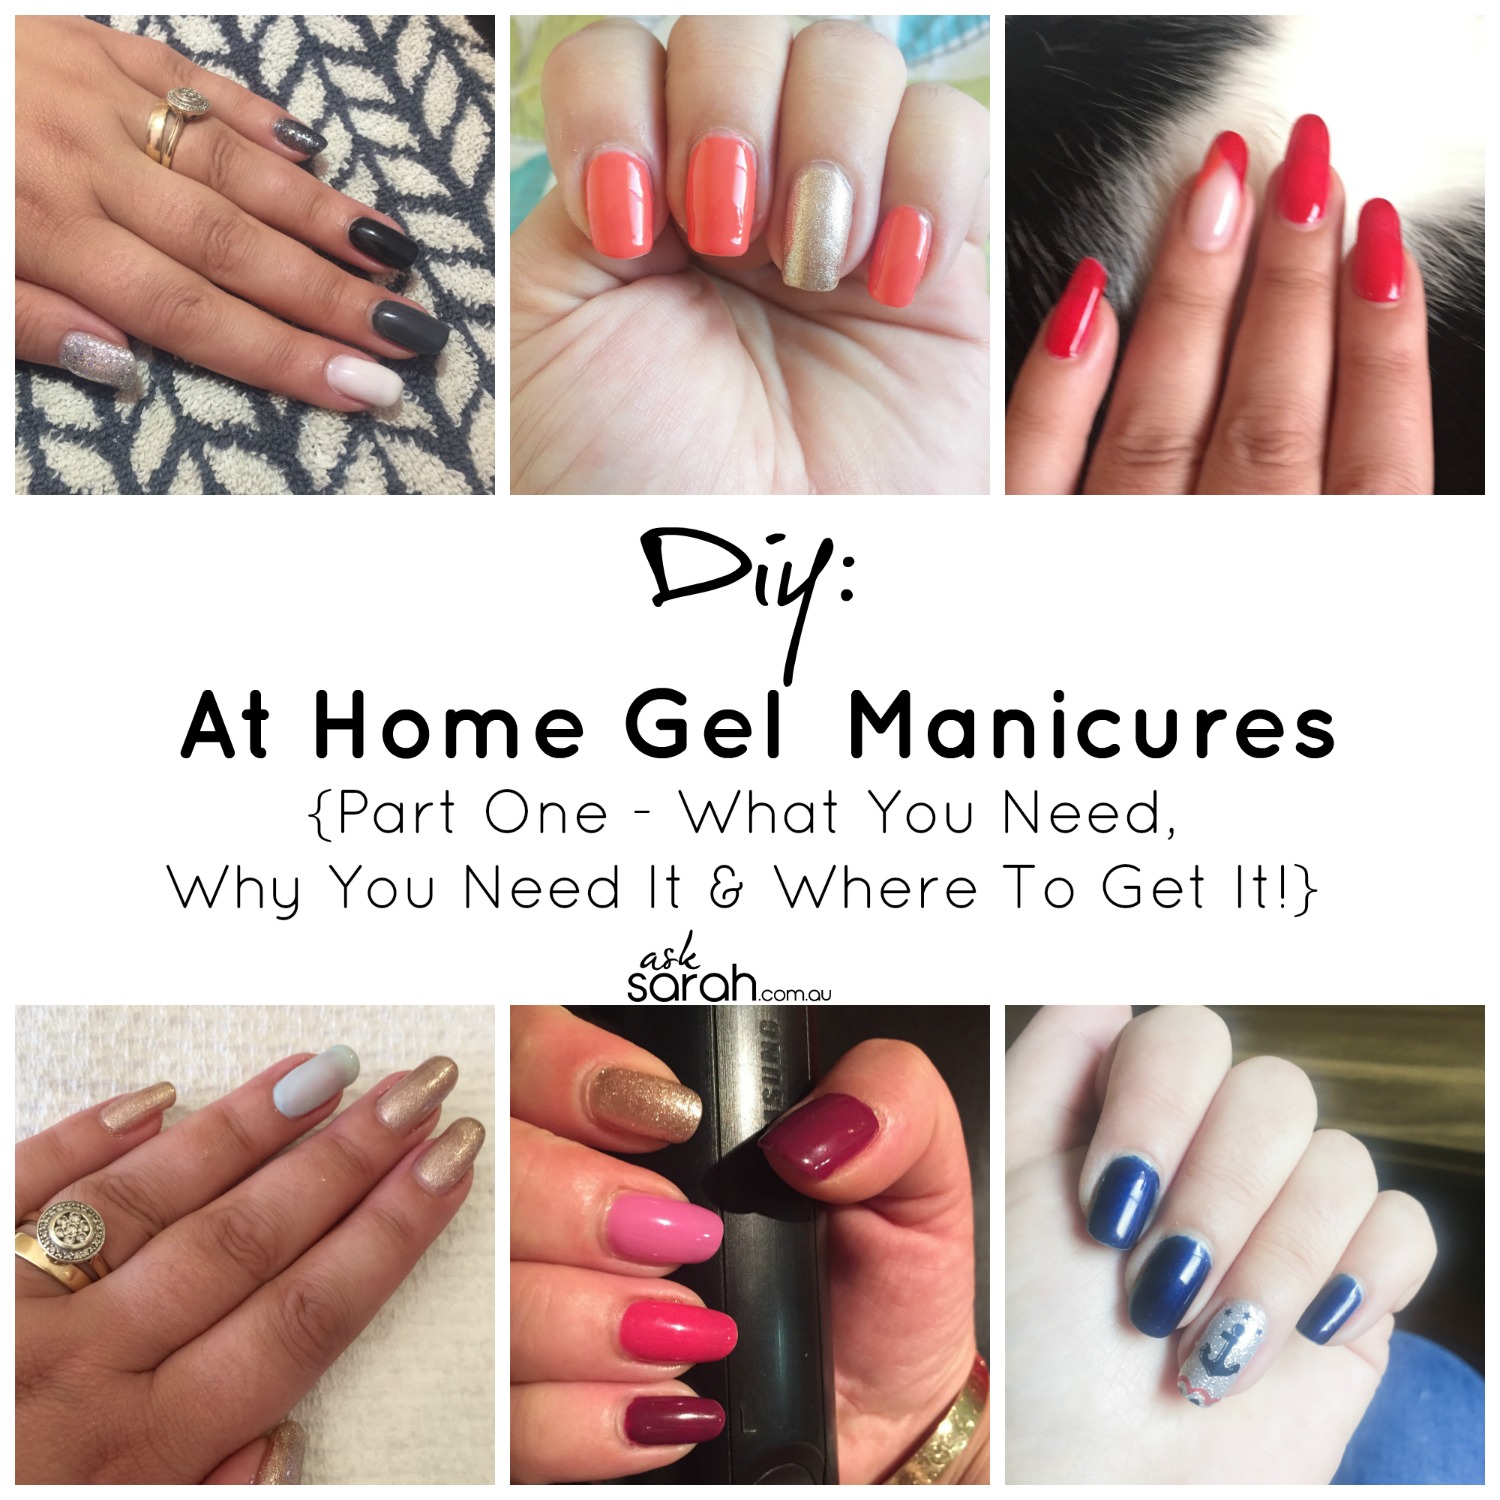
Taking control of your nail care routine at home offers both creative freedom and significant cost savings. DIY manicures have become increasingly popular, letting you maintain beautiful nails without frequent salon visits. Plus, mastering these skills adds a valuable self-care ritual to your beauty routine.
Benefits of DIY Manicures
Beyond the obvious financial advantages, performing your own manicures provides complete control over products used and techniques applied. This becomes particularly valuable if you have specific nail concerns or preferences. Just as with other personal care routines like facial skin care tips, developing proper nail care habits can significantly impact your overall grooming results.
Essential Tools and Products
A successful home manicure starts with the right equipment. Stock your nail care kit with these fundamentals:
- Quality nail clippers and files (Remember, filing in one direction prevents splitting and breakage) [#1]
- Cuticle oil and moisturizer (Regular moisturizing prevents infections from dry, cracked cuticles)
- Base coat, nail polish, and top coat
- Cotton balls and nail polish remover
- Cuticle pusher and nail brush
Much like establishing solid beauty habits, creating a dedicated space for your manicure supplies helps maintain organization and makes the process more enjoyable. Keep your tools clean and replace them regularly to maintain hygiene and effectiveness.
Preparing for the Perfect Manicure
[Source: elle.com]
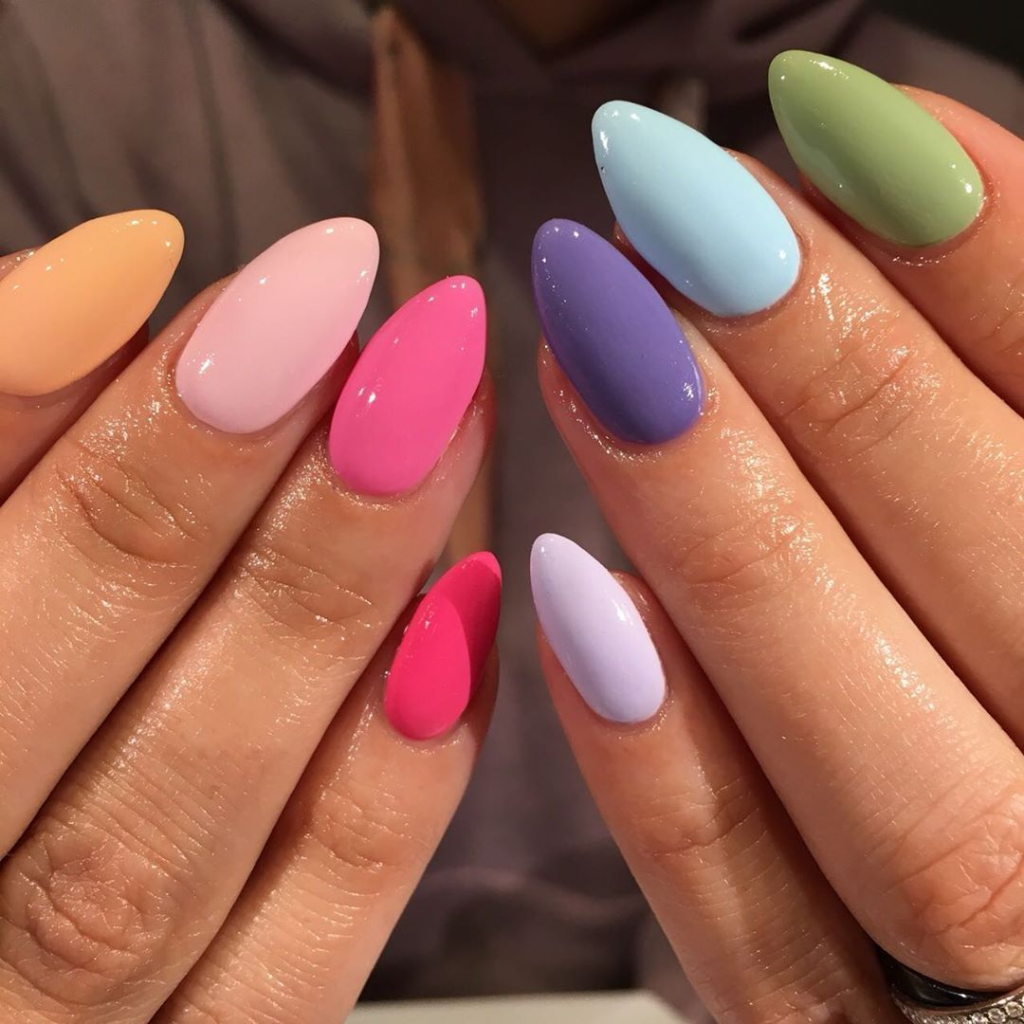
A flawless manicure starts with proper nail preparation. Just like creating a smooth canvas before applying makeup, your nails need the right foundation for polish to adhere properly and last longer.
Examining and Cleaning Nails
Start by removing old polish completely and washing hands thoroughly. A pre-manicure soak in water mixed with white vinegar can significantly improve polish adhesion and extend your manicure’s lifespan. [#2]
Nail Clipping and Filing
Shape your nails while they’re still slightly damp – this prevents splitting. File in one consistent direction rather than using a back-and-forth motion. This technique, similar to professional beauty techniques, helps maintain nail strength and prevents peeling.
Cuticle Care
Healthy cuticles create the foundation for beautiful nails. Apply Aquaphor or Vaseline around your cuticles before starting your polish application – this clever trick catches any stray polish and protects your skin.
- Gently push back cuticles using a wooden stick
- Moisturize the nail bed and surrounding skin
- Remove any oils from the nail surface with polish remover
- Buff nails lightly for a smooth surface
Remember that proper preparation often determines the difference between a short-lived manicure and one that stays perfect for days. Take your time with these initial steps – rushing through preparation typically leads to disappointing results.
Applying Nail Polish Like a Pro
[Source: blog.dearsundays.com]
Ready to transform your nails into a salon-worthy masterpiece? The secret lies in your application technique. Professional-looking results start with understanding the fundamentals of polish application.
Base Coat Techniques
Start with a clean base coat – this step acts like primer does for makeup. Apply it in smooth, even strokes from cuticle to tip. Let it dry completely before moving to color application. This foundation step prevents staining and helps your manicure last longer.
Color Application Secrets
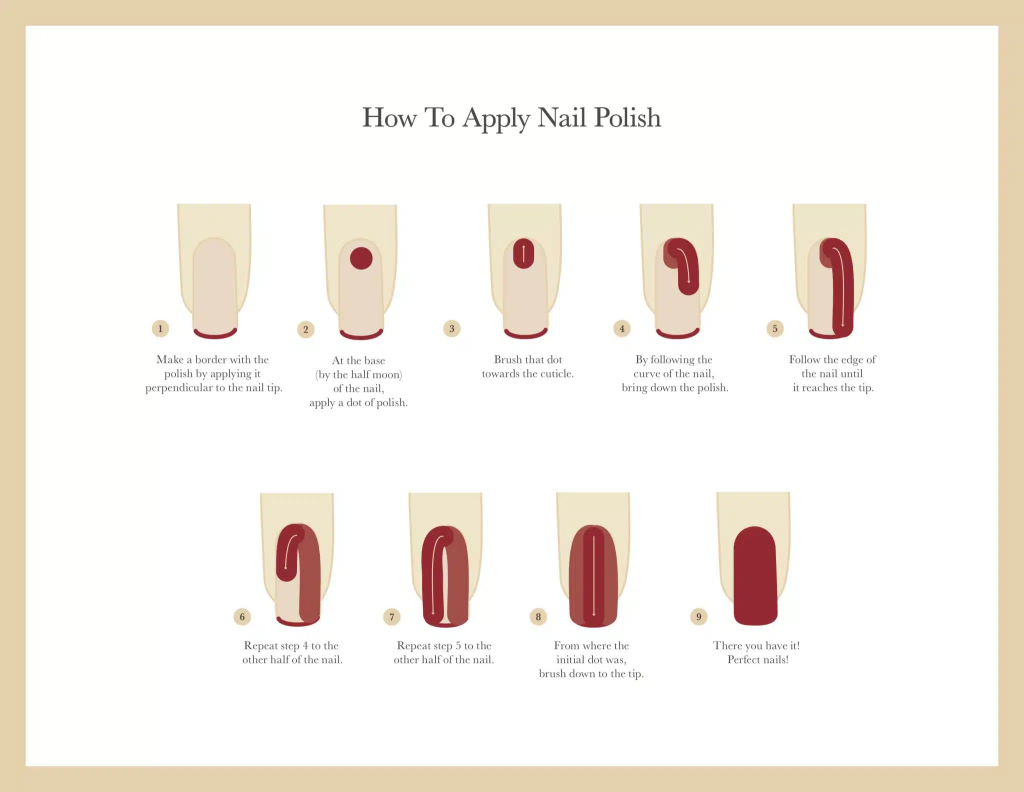
Here is where patience becomes your best friend. Multiple thin coats will give you better results than one thick layer. A thick coat might look good initially, but it only dries on the surface while staying wet underneath, leading to smudges and dents.
- Start with a thin stripe down the middle
- Follow with stripes on each side
- Wait 2 minutes between coats
- Apply 2-3 thin layers for optimal coverage
Fixing Mistakes
Made a slip-up? No problem! Keep a small brush dipped in nail polish remover handy. This simple beauty hack lets you clean up any mistakes with surgical precision, giving you perfectly shaped polish every time.
Top Coat Magic
Finish with a quality top coat, applying it with the same careful technique as your color coats. This final layer seals your masterpiece and adds that professional shine. Remember to cap the free edge of your nails with both base and top coats to prevent chipping.
Creative Nail Art Hacks
[Source: women.com]
Ready to elevate your manicure game beyond basic colors? Let’s explore some clever techniques that transform ordinary polish into stunning nail art – no professional tools required!
Simple Tools, Stunning Results
The secret to amazing nail art often lies in everyday items you already own. Clear tape serves as a perfect tool for creating precise geometric patterns and clean lines in your nail designs. Simply apply the tape in your desired pattern, paint over it, and peel away to reveal crisp, professional-looking results. [#3]
Water Marbling Magic
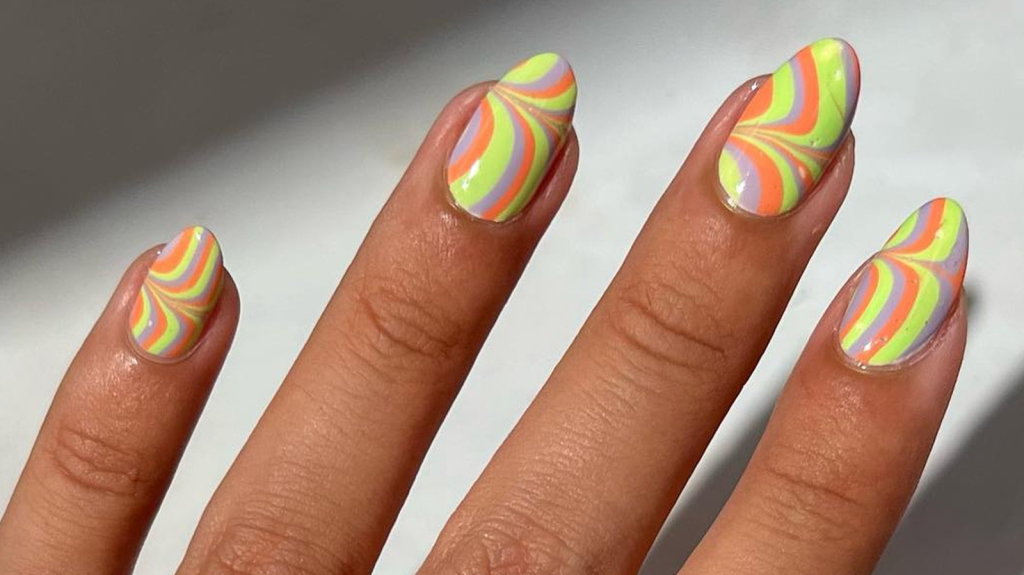
Create mesmerizing marble patterns using just water and your favorite nail polish shades. Fill a small container with room temperature water, drop different colors of polish onto the surface, swirl them together with a toothpick, and dip your nail in. The polish pattern transfers perfectly to your nail, creating a stunning marbled effect that looks professionally done.
DIY Design Tools
Transform common household items into nail art tools:
- Bobby pins for creating dots and small flowers
- Plastic wrap for texture effects
- Dental floss for straight lines
- Makeup sponges for gradient effects
Quick Fix Solutions
Keep your nail art looking flawless with these problem-solving tricks:
- Use liquid latex around nails for clean edges
- Apply white polish as a base to make colors pop
- Fix smudges with a tiny bit of polish on your finger
- Seal designs with multiple thin top coat layers
Ensuring Long-Lasting Manicures
[Source: maniology.com]
After perfecting your nail art, the next challenge is making your masterpiece last. With proper techniques and maintenance, your DIY manicure can stay fresh and chip-free for days.
Sealing Your Polish Properly
The secret to a durable manicure lies in proper sealing techniques. Running your top coat brush along the free edge of each nail creates an invisible barrier that prevents chipping and peeling. This simple yet effective method locks in your color and design for extended wear.
Maintenance Tips
Keep your manicure looking fresh with these proven strategies:
- Apply a fresh layer of top coat every 2-3 days to maintain shine and protection [#4]
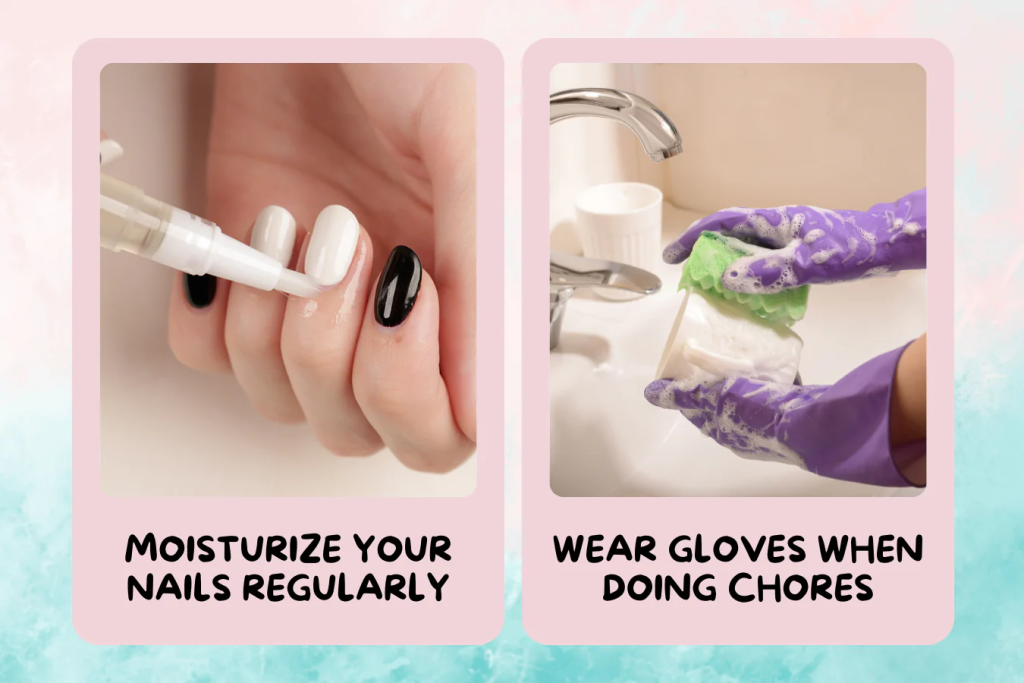
- Wear gloves while doing dishes or cleaning
- Apply cuticle oil daily to prevent polish from becoming brittle
- Avoid hot water immediately after polish application
Smart Storage Solutions
Your nail products need proper care too. Store polish bottles upright in a cool, dark place – just like skincare products favored in Korean beauty routines. Shake bottles gently instead of vigorously to prevent air bubbles.
Quick Fixes for Extended Wear
- Touch up chips with a small brush dipped in matching polish
- Use clear polish to smooth rough edges
- Keep nails at a practical length to minimize breakage
- File away any snags as soon as they appear
Conclusion
Mastering Your Manicure Journey
Armed with these nail care techniques and DIY hacks, you’re ready to create stunning manicures from the comfort of your home. The path to perfect nails doesn’t require professional training – just patience, practice, and the right knowledge.
Key Takeaways for Success
- Start with clean, well-prepped nails for professional results
- Apply polish in thin, even layers rather than thick coats
- Embrace simple tools from your home for creative nail art
- Protect your work with proper sealing and maintenance
- Fix minor issues quickly to extend your manicure’s life
Your Creative Canvas
Remember that nail art offers endless possibilities for self-expression. Breaking free from conventional beauty standards, your nails can reflect your personality and style preferences. Whether you prefer classic French tips or bold geometric patterns, these techniques provide the foundation for your nail art adventures.
Moving Forward
Don’t feel pressured to achieve perfection immediately. Like any skill, creating beautiful manicures takes time to master. Start with basic techniques, then gradually experiment with more complex designs as your confidence grows. Your nail care routine can become an enjoyable form of self-care and creative expression.